No matter what your game is about, you might run into trouble if you need some extra special symbols in the iconset. Not only that, having some extra fitting graphics will make people feel more immersed and the game more polished.
Using custom icons is always an option, but for now we will focus on the ones that came with MZ by default.
The graphics and edits were all made with Gimp, which is free and runs on most systems.
Step 1:
You need the bases for the icons. You could either try to clean the default icons off their symbol, but WaywardMartian has already solved that task for us:
Wayward's MZ Resources (Latest 200821: Icon Backgrounds)

TERMS:
- You need to have RPG Maker MZ ( because I mostly do RTP edits and Frankenspriting )
- Credit to Wayward Martian Graphics ( because it still took work )
- Free ( with credit ) for commercial/non-commercial RPGMaker games ( I'd like to see what you do with them )
- I do not take requests
Step 2: The rest
To create our icon we will need the white symbol that is displayed on the frame. To make sure the lines don’t mess with the frame, we should try to get an 24*24 pixel sized symbol for it.
Using free graphics
There are several graphics that are available for free that already perfectly match our needs.
I might need a special key and a different fire spell, and since they are pretty generic I will start look at
https://game-icons.net/
Luckily, I managed to find stuff that works for us here there:
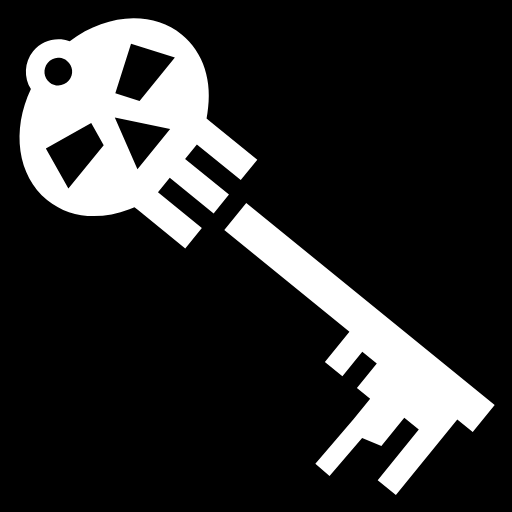
Skeleton key by Lorc
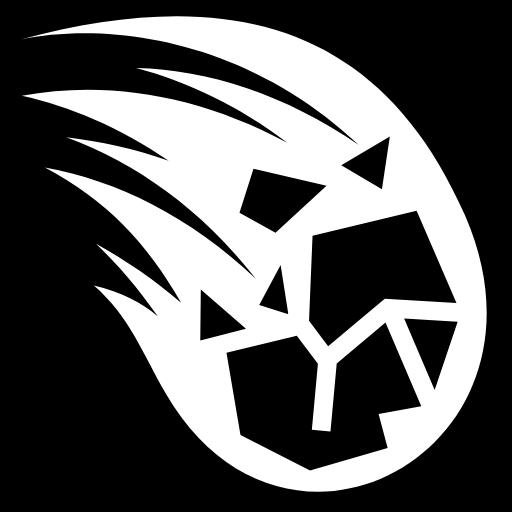
Thrown charcoal by Lorc
Looking up the default iconset, we will see that items like a key use the green background, so we are going to start with it and open a new 32*32 sized picture and copy the background we need in there.
To continue, we open the downloaded skeleton key file.
Then we select: Colors and then color to alpha and choose black there, to have the background turn transparent.
Using image -> crop to content we get rid of the empty space around the symbol.
Now we use scale and scale the wider side of the icon to 24 pixels. Then we copy the result onto a new layer in our file with the empty background.
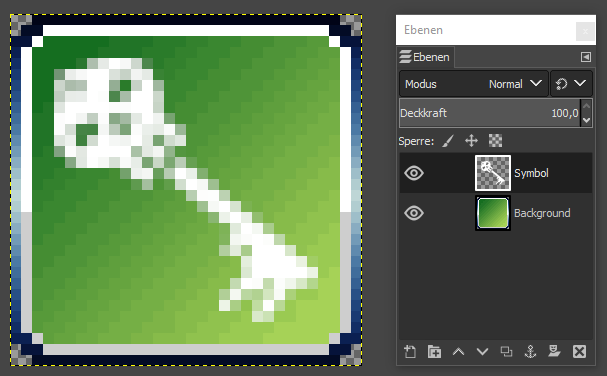
we are already pretty close to a full matching icon.
Now we copy that Symbol layer, colorise it to black and then add a gaussian blur to it (1,5 should be a good setting for that). This shadow layer should now be duplicated 4 times, so it exists 5 times between the symbol and the background.
That will create that shadow halo effect that most MZ icons have.
The result blends into the default icons without any issue:

For the fire icons, we are going to use similar steps, but not quite the same.
First, we select the icon from the templates that is used for skills, in this case the black one.
Then we open our downloaded symbol, crop it to content and resize it, but without removing the background!

and

Now we have a look at the default skill icons:

Unlike the other icons, these are not all white, and especially fire has a gradient to it. To recreate it, we are going to have a separate layer on top of our black background icon, that resembles that color gradient.

This should work about right. No we give that layer a black color mask, in Gimp by right clicking on the layer and “Add colormask”.
A colormask will make everything that is black on the mask transparent, but will keep the layer itself untouched.
Now we use the rescaled fire icon and copy that on our layer mask!


Looks pretty good next to the default icon, right?
But what if we don’t have the perfect icon yet?
Let’s say, we need a teabag for our game?
Make your own
Then first we have to look up a reference, it helps a lot with the actual drawing to have one.
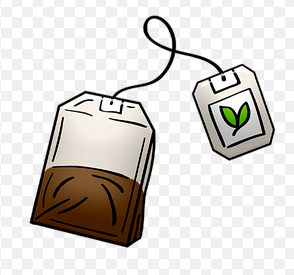
I found this stock picture that is public domain, and it shows all we need to see.
First, we start with an empty black square. To get all the details right, I personally draw such things 10 times the size they actually need to be, so a 240*240 black square it is.

If you have trouble drawing, construct as much as you can by using the shape selections, for example the bag:
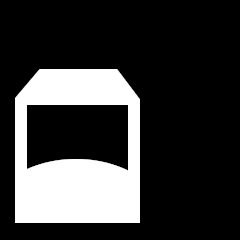
The bag can be made with a box selection, with the corners clipped off with the polygon selection and the interior by combining box and circle selection.
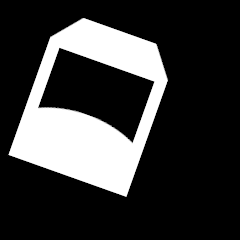
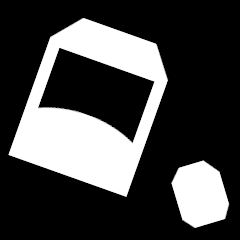
You can also use rotation to make the image look a bit more exciting. The paper label can be made and placed the same way.
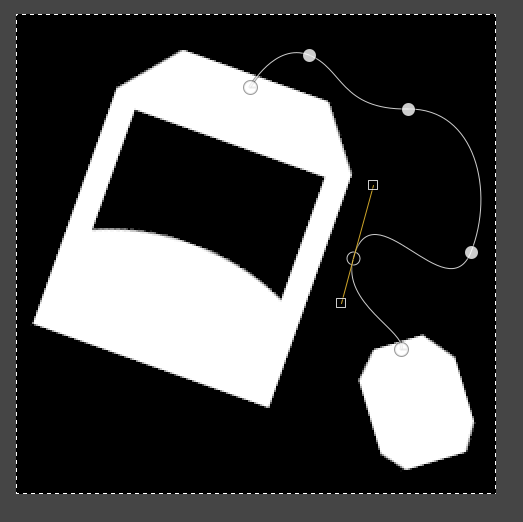
For a clean connecting thread you can use a path:
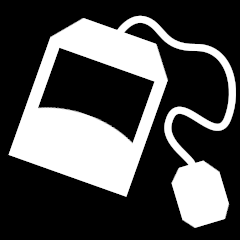
Now we can add some details, if we feel like, but remember, it will be scaled down so smaller things might vanish!

Those were drawn with the mouse. Now let’s see, I will repeat the steps that I made for the skeleton key to see if the result works as planned:

And we are done!
To add them to our default set, we are going to open it in Gimp and do the following:
Under Image, we are going to set a 32*32 grid for the image and select “show grid” and “snap to grid” under view as well.
Under image -> canvas size we slap 64 pixels on our vertical length (never change horizontal size of the iconset, you cannot use that space anyways) and we see this:
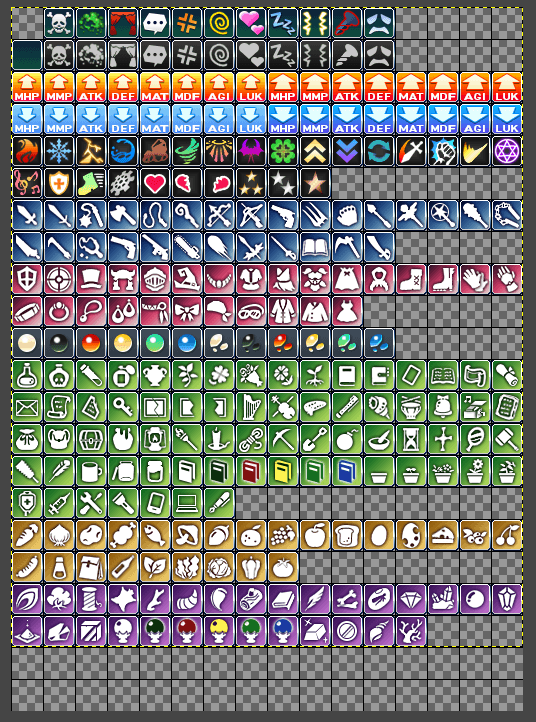
The set has indexed colors for a smaller file size, but that could mess with out icons if we copy them in right now. So we use Image->Mode->RGB (we can switch back to indexed later, if we feel like) and then we just copy the new icons in there.
I like to sort my new icons by categories so I can find them quicker.
if you now index the colors of the file again, your gradients will turn into the crispy pixelated style the whole set has and blend in even better:

->

Save the file in your game folder and you are done!
本贴来自国际rpgmaker官方论坛作者:Avery处,因国际论坛即将永久关站,为了存档多年珍贵资料,署名转载到本论坛存档,由于官方帖子为英文原帖,需要中文翻译请点击论坛顶部切换语言为中文就可以将帖子翻译成中文浏览,方便大家随时查看,原文地址:
https://forums.rpgmakerweb.com/threads/how-to-make-your-own-default-mz-style-icons.156279/ 简体中文
简体中文
 English(英语)
 日本語(日语)
 Deutsch(德语)
 Русский язык(俄语)
 بالعربية(阿拉伯语)
 Türkçe(土耳其语)
 Português(葡萄牙语)
 ภาษาไทย(泰国语)
 한어(朝鲜语/韩语)
 Français(法语)

 聊天机器人
聊天机器人




 窥视卡
窥视卡 雷达卡
雷达卡



 发表于 2026-7-7 19:50:32
 提升卡
提升卡 置顶卡
置顶卡 沉默卡
沉默卡 喧嚣卡
喧嚣卡 变色卡
变色卡 千斤顶
千斤顶 照妖镜
照妖镜